PhotoRedox Kit Step-by-Step Guide
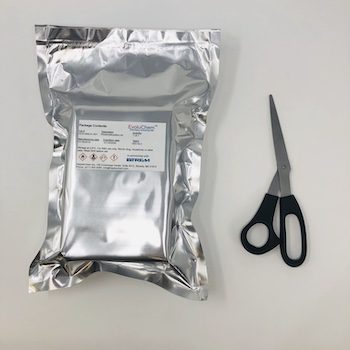
Step #1
Remove the chemistry kit from the protective casing (Mylar Bag)
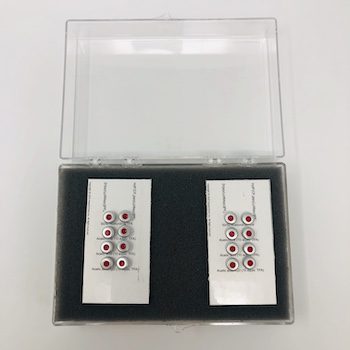
Step #2
Most kits contain two or more sets of arrays. Remove your desired set of arrays from the box, keeping them in the card holder.
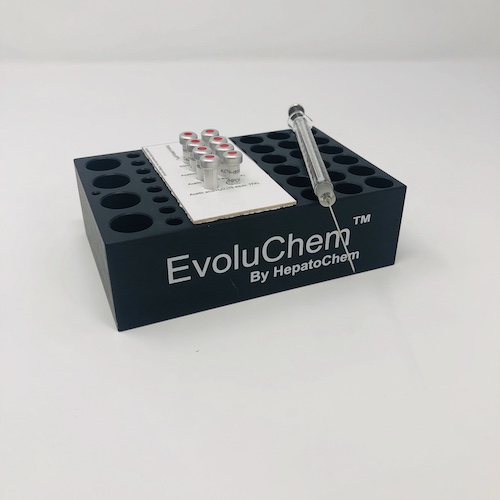
Step #3
Place arrays in reaction block HCK1006-01-002 and prepare the reaction conditions.

Step #4
Insert the kit array into the holder (HCK1006-01-017)
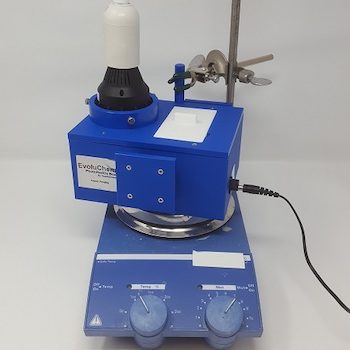
Step #5
Insert the holder into the PhotoRedox box (HCK1006-01-016)